How to Install a Drain in the Bathroom Sink
Unclogging or damaging the drain in your bathroom sink is always a source of great frustration, disrupting daily activities and leading to unpleasant odors. While a professional plumber and plumbing services may offer solutions, you could save both time and money by learning to replace one yourself. We at High Speed Plumbing are here to outline all the steps necessary for success! We're confident with just some basic tools and a bit of perseverance you'll soon have your bathroom drain flowing smoothly once more!
Tools and Materials You Will Require
Before beginning, gather all necessary tools and materials:
- Adjustable wrench
- Plunger
- Pipe wrench
- Screwdriver
- Plumber's putty
- Replacement drain assembly kit
- Bucket or container for water disposal
Step 1: Turn Off the Water Supply
Start by turning off the water supply to your bathroom sink. The shut-off valve is usually located beneath the sink. Turn the valve clockwise until it's fully closed to prevent any water from flowing into the sink during the drain line replacement process.
Step 2: Clear the Sink
Remove any items from the sink and clear the area around it. You'll need plenty of workspace to access and work on the drain.
Step 3: Prepare for Water
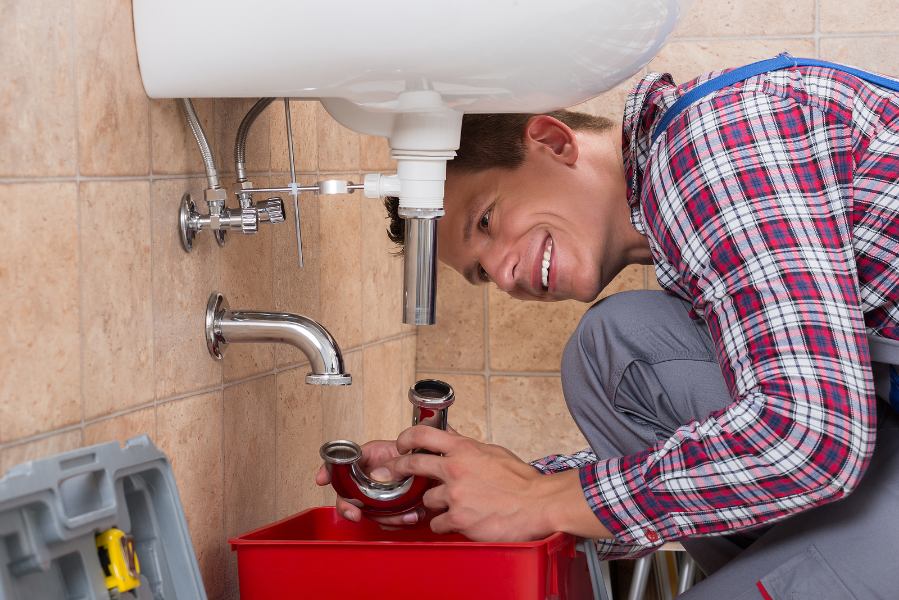
Place a bucket or container under the sink to catch any water that may leak out during the replacement. This will help you keep your workspace clean and prevent any water damage to the cabinet below.
Step 4: Remove the Drain Stopper
Underneath the sink, locate the pivot rod that connects the drain stopper to the faucet handle. Unscrew or disconnect the pivot rod to release the stopper. Depending on your sink's design, you may need to remove a retaining nut or clip to release the stopper completely.
Step 5: Loosen the Drain Nut
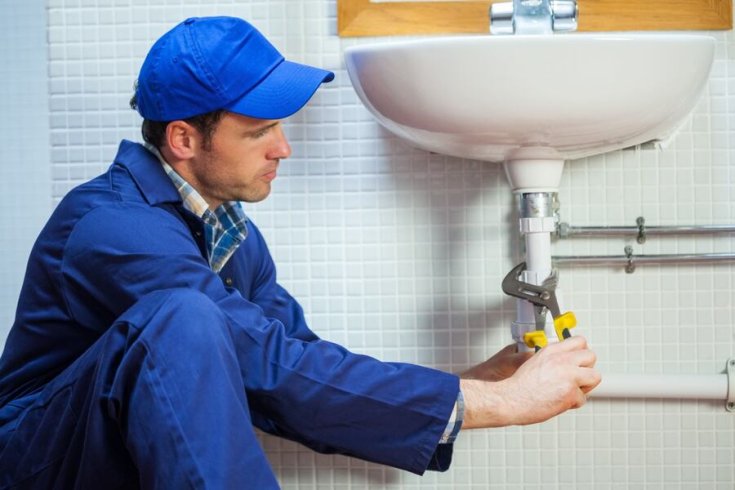
Using a pipe wrench or an adjustable wrench, loosen the large nut located beneath the sink that holds the drain assembly in place. Turn it counterclockwise until it's loose enough to remove by hand.
Step 6: Remove the Old Drain
Once the nut is loose, you can carefully pull out the old drain assembly from the sink. Be prepared for some water to drain out when you do this. Dispose of the old drain assembly properly.
Step 7: Clean the Sink Opening
With the old drain removed, clean the sink's drain opening thoroughly to remove any debris, old plumber's putty, or gunk that may have accumulated over time.
Step 8: Apply Plumber's Putty
Take a small amount of plumber's putty and roll it into a rope shape. Apply the putty evenly around the underside of the flange of the new drain assembly. This creates a watertight seal when you install the new drain.
Step 9: Install the New Drain
Insert the new drain assembly into the sink opening and push it down firmly. Make sure it's centered and level. Hand-tighten the large nut beneath the sink to secure the drain in place.
Step 10: Reattach the Drain Stopper
Reattach the drain stopper mechanism by connecting the pivot rod back to the faucet handle and securing it in place as you did in Step 4.
Step 11: Turn On the Water Supply
Finally, turn the water supply back on by opening the shut-off valve counterclockwise. Test your newly replaced drain by allowing water to flow freely and ensuring there are no leaks.
High Speed Plumbing
Our team of skilled plumbers specialize in offering expert plumbing solutions tailored to each individual need, whether that means fixing leaky faucets or conducting drain line replacements, to managing complex plumbing installations. You can count on us for efficient yet dependable plumbing solutions that keep your home or business operating smoothly.


